18 Dryer Repairs in One Video — A Complete Disassembly and Replacement Guide
Follow a skilled service professional as they disassemble a Whirlpool Cabrio dryer and replace eighteen different parts step-by-step. From lint filters to heating elements, this in-depth repair video showcases Supplying Demand quality and reliability in every part.
18 Dryer Repairs in One Video
A Complete Disassembly and Replacement Guide
Learn how to disassemble a Whirlpool Cabrio dryer and replace 18 different parts in this comprehensive, step-by-step demonstration from a skilled service professional.
We are Supplying Demand — The Repair Brand™.
Always disconnect power before servicing any appliance.
Unplug the unit or turn off the circuit breaker.
Use proper personal protective equipment (PPE) such as gloves and safety glasses.
Follow all manufacturer installation and service instructions.
If you’re unsure, consult a qualified technician.
▶ Watch the Full Video
Parts Featured in This Repair
Below are the parts shown throughout the video — all available from Supplying Demand.
- SDW11117302 — Lint Filter Grille
- SD3387223 — Moisture Sensors
- SDW10111905 — Door Catch
- {{SDW10314173}} — Drum Support Rollers
- SDW10359272 — Drum Roller Shaft (Front)
- SDW10359271 — Drum Roller Shaft (Rear)
- SD8544742 — Blower Drive Belt
- SD8577274 — Exhaust Thermistor
- SD3390719 — Thermal Fuse
- SD22002263X2 — LED Light Bulb
- SD8544772 — Heating Element
- SD8557403 — High-Limit Thermostat with Inlet Thermistor
- SD279973 — Thermostat Kit
- {{SD279457}} — Wire Repair Kit for Heating Element
- {{SDW10547292}} — Idler Pulley
- SDW10411937 — Belt Switch
- SD8547157 — Drum Drive Belt
- SDW10120998 — Lint Filter
Introduction
Hello, my name is James with Supplying Demand, and today we’re going to be replacing a few parts on this Whirlpool Cabrio WED8900BC0.
If you don’t know where to locate your model number for your dryer, simply open the door — you should find the manufacturer label somewhere around the door frame or near the hinges.
Watch this short video to help locate your model number before getting started:
Step-by-Step Dryer Disassembly and Repair Guide
Let’s get started.
[Disassembly Begins — 00:26]
After removing the front panel screws, disconnect the door switch by lifting the tab and pulling the connectors apart. Lift the front panel and move it out of the way. Be careful — this panel is heavy due to the door and may swing open if not secured.
[Lint Filter Grille — 01:26]
The lint filter grille is one of four parts that make up the lint filter housing. Remove by taking out two screws and releasing the lower tab.
- SDW10120998 — Lint Filter
- SDW11117302 — Lint Filter Grille
[Moisture Sensors — 01:49]
Your lint filter grille contains two moisture sensors (each sold individually). Install them by hooking the cleat into the lower section and snapping the terminal into place.
- SD3387223 — Moisture Sensors
[Door Catch — 02:48]
If the door won’t stay closed or the dryer stops mid-cycle, the catch may be worn. Swap it in seconds from the front panel.
- SDW10111905 — Door Catch
[Drum Rollers & Shafts — 03:07 / 03:22]
Each drum support roller includes two plastic tri-ring retainers that snap onto the roller shaft to hold it in place.
- {{SDW10314173}} — Drum Support Rollers
- SDW10359272 — Drum Roller Shaft (Front)
- SDW10359271 — Drum Roller Shaft (Rear)
[Remove Drum — 05:24]
To access additional components, disengage the drive belt and remove the drum.
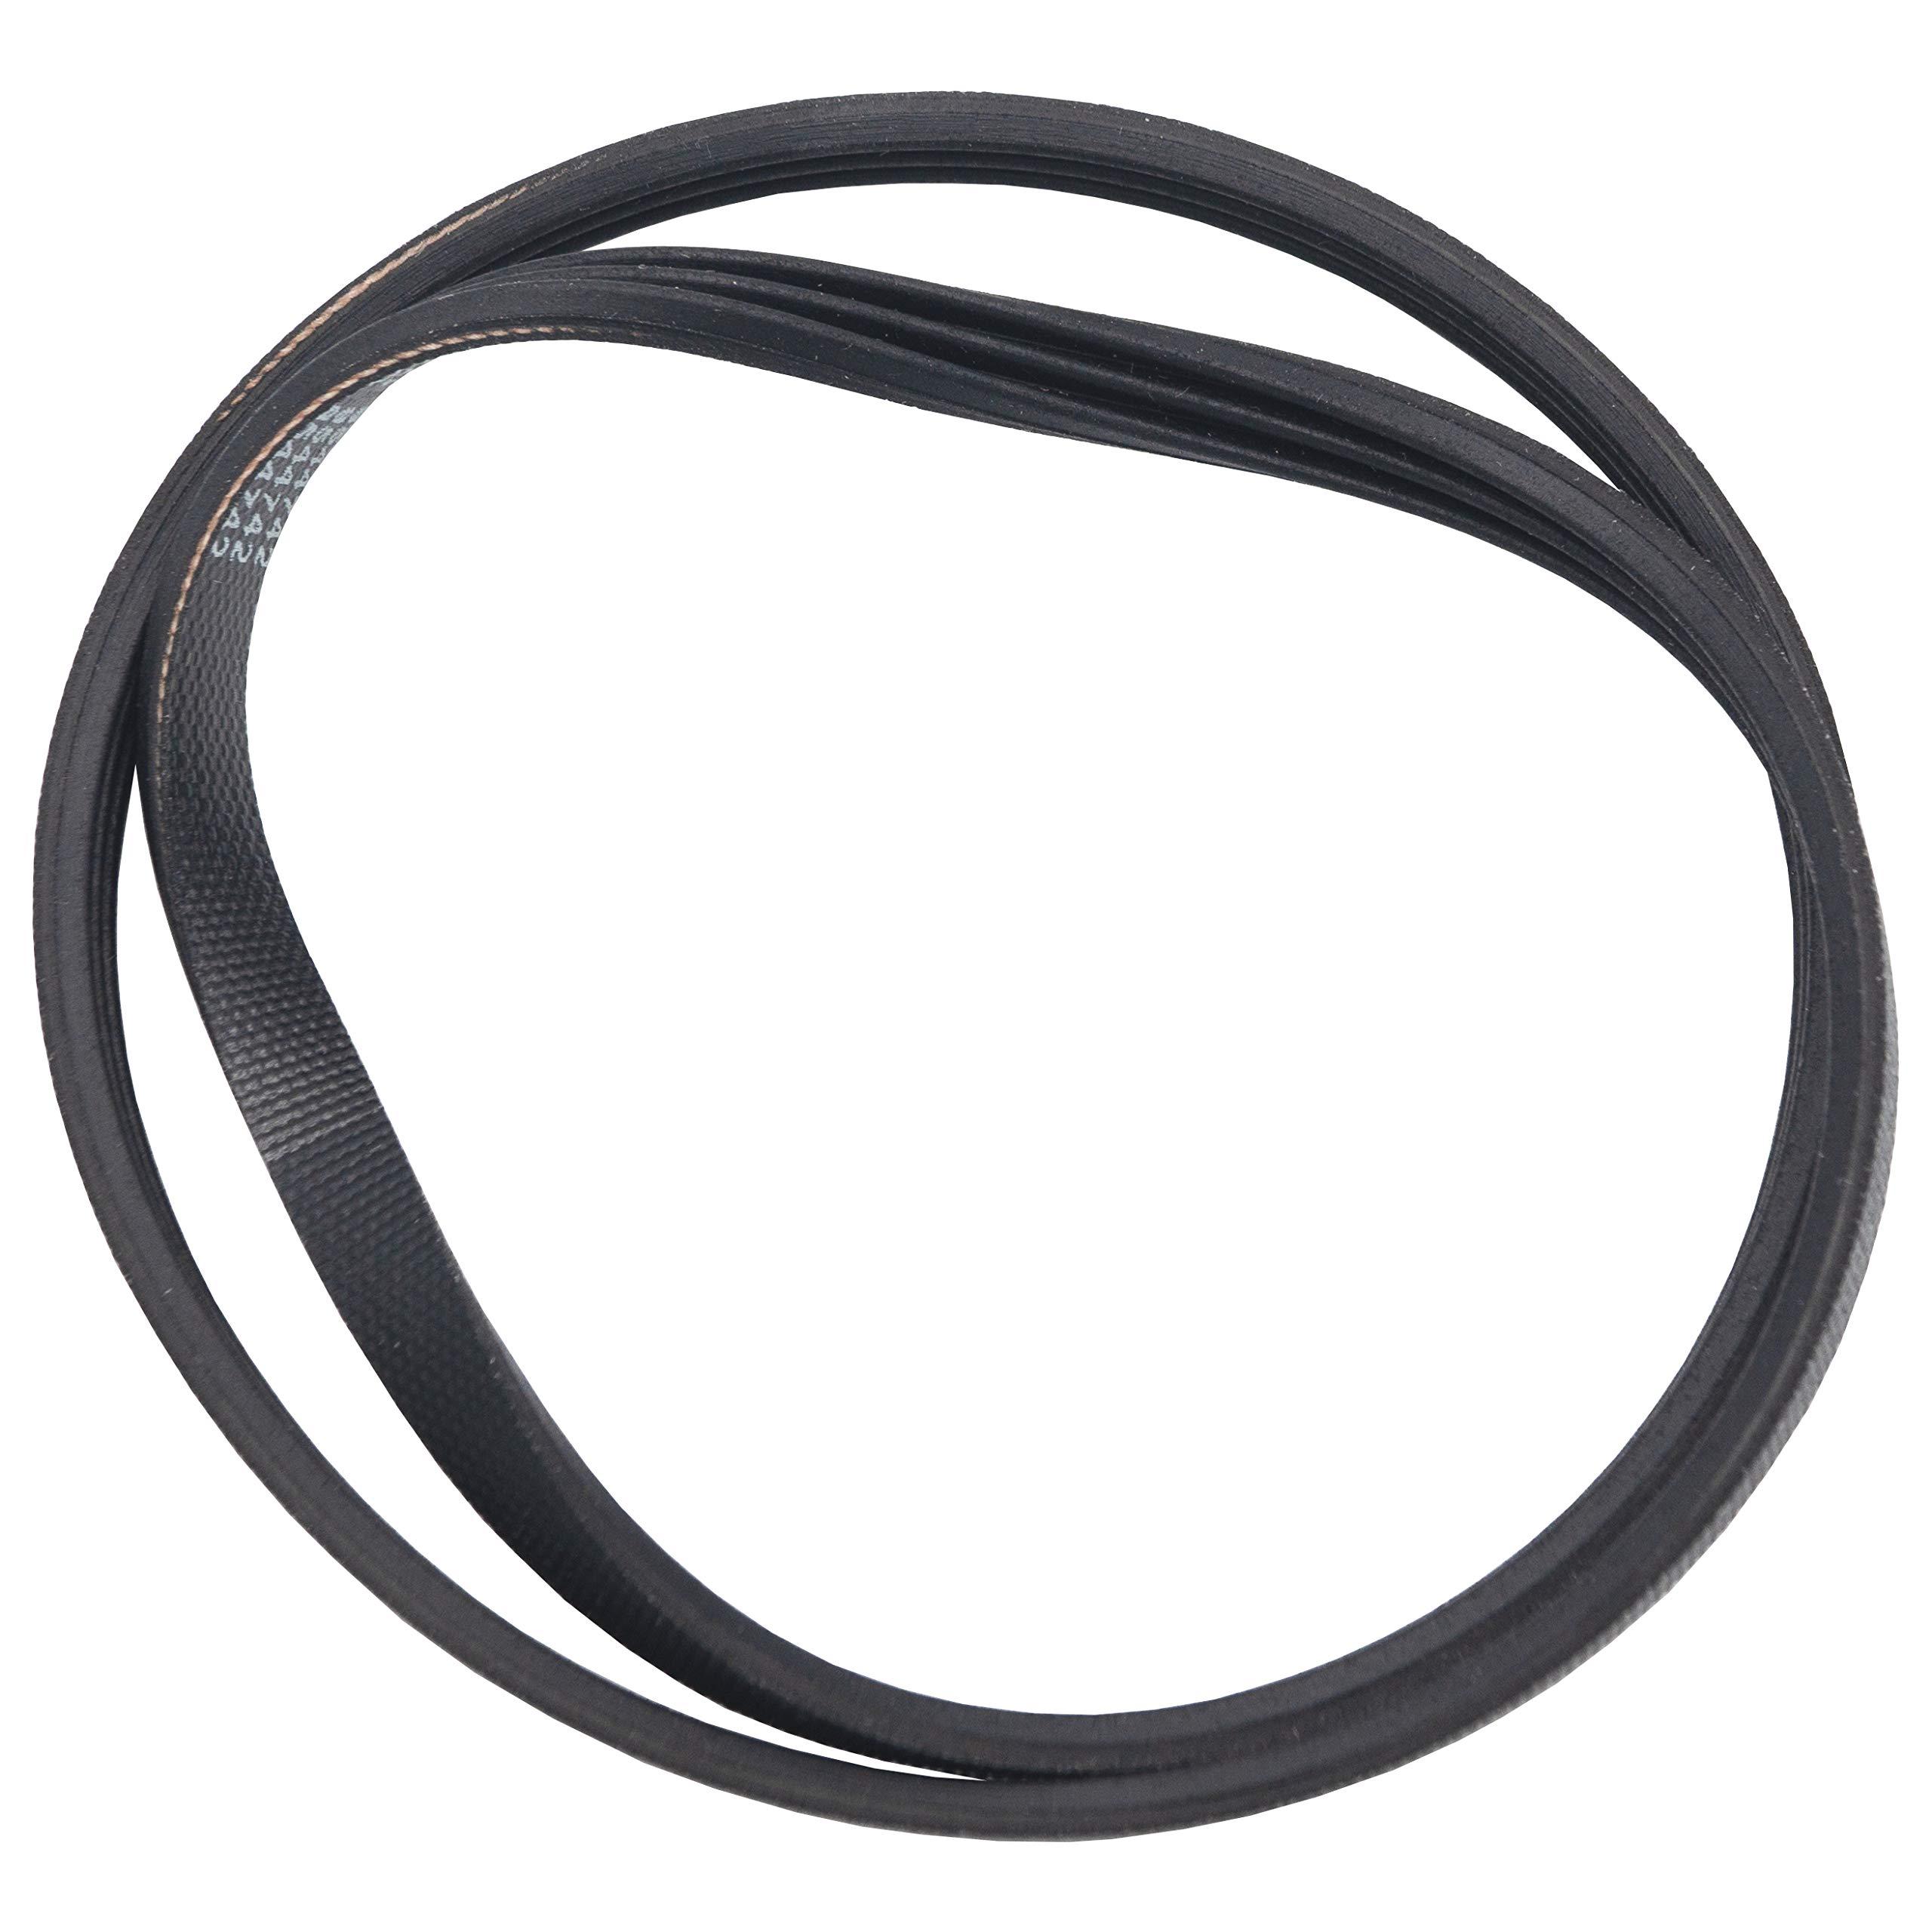
[Blower Drive Belt — 05:40]
This model uses two belts. The front belt drives the blower wheel. Inspect for glazing/cracks and replace if stretched or broken.
- SD8544742 — Blower Drive Belt
[Exhaust Thermistor & Thermal Fuse — 06:10 / 06:48]
The exhaust thermistor monitors outgoing air temperature; the thermal fuse is a safety cutoff. It’s common to replace them together.
[LED Light Bulb — 07:27]
Swap the drum light for better visibility while working and during use.
- SD22002263X2 — LED Light Bulb
[Heating Element Assembly — 08:02]
Disconnect the thermal fuse, thermostat, and element wires. Lift up the element casing to separate it from the heat chamber.
- SD8544772 — Heating Element
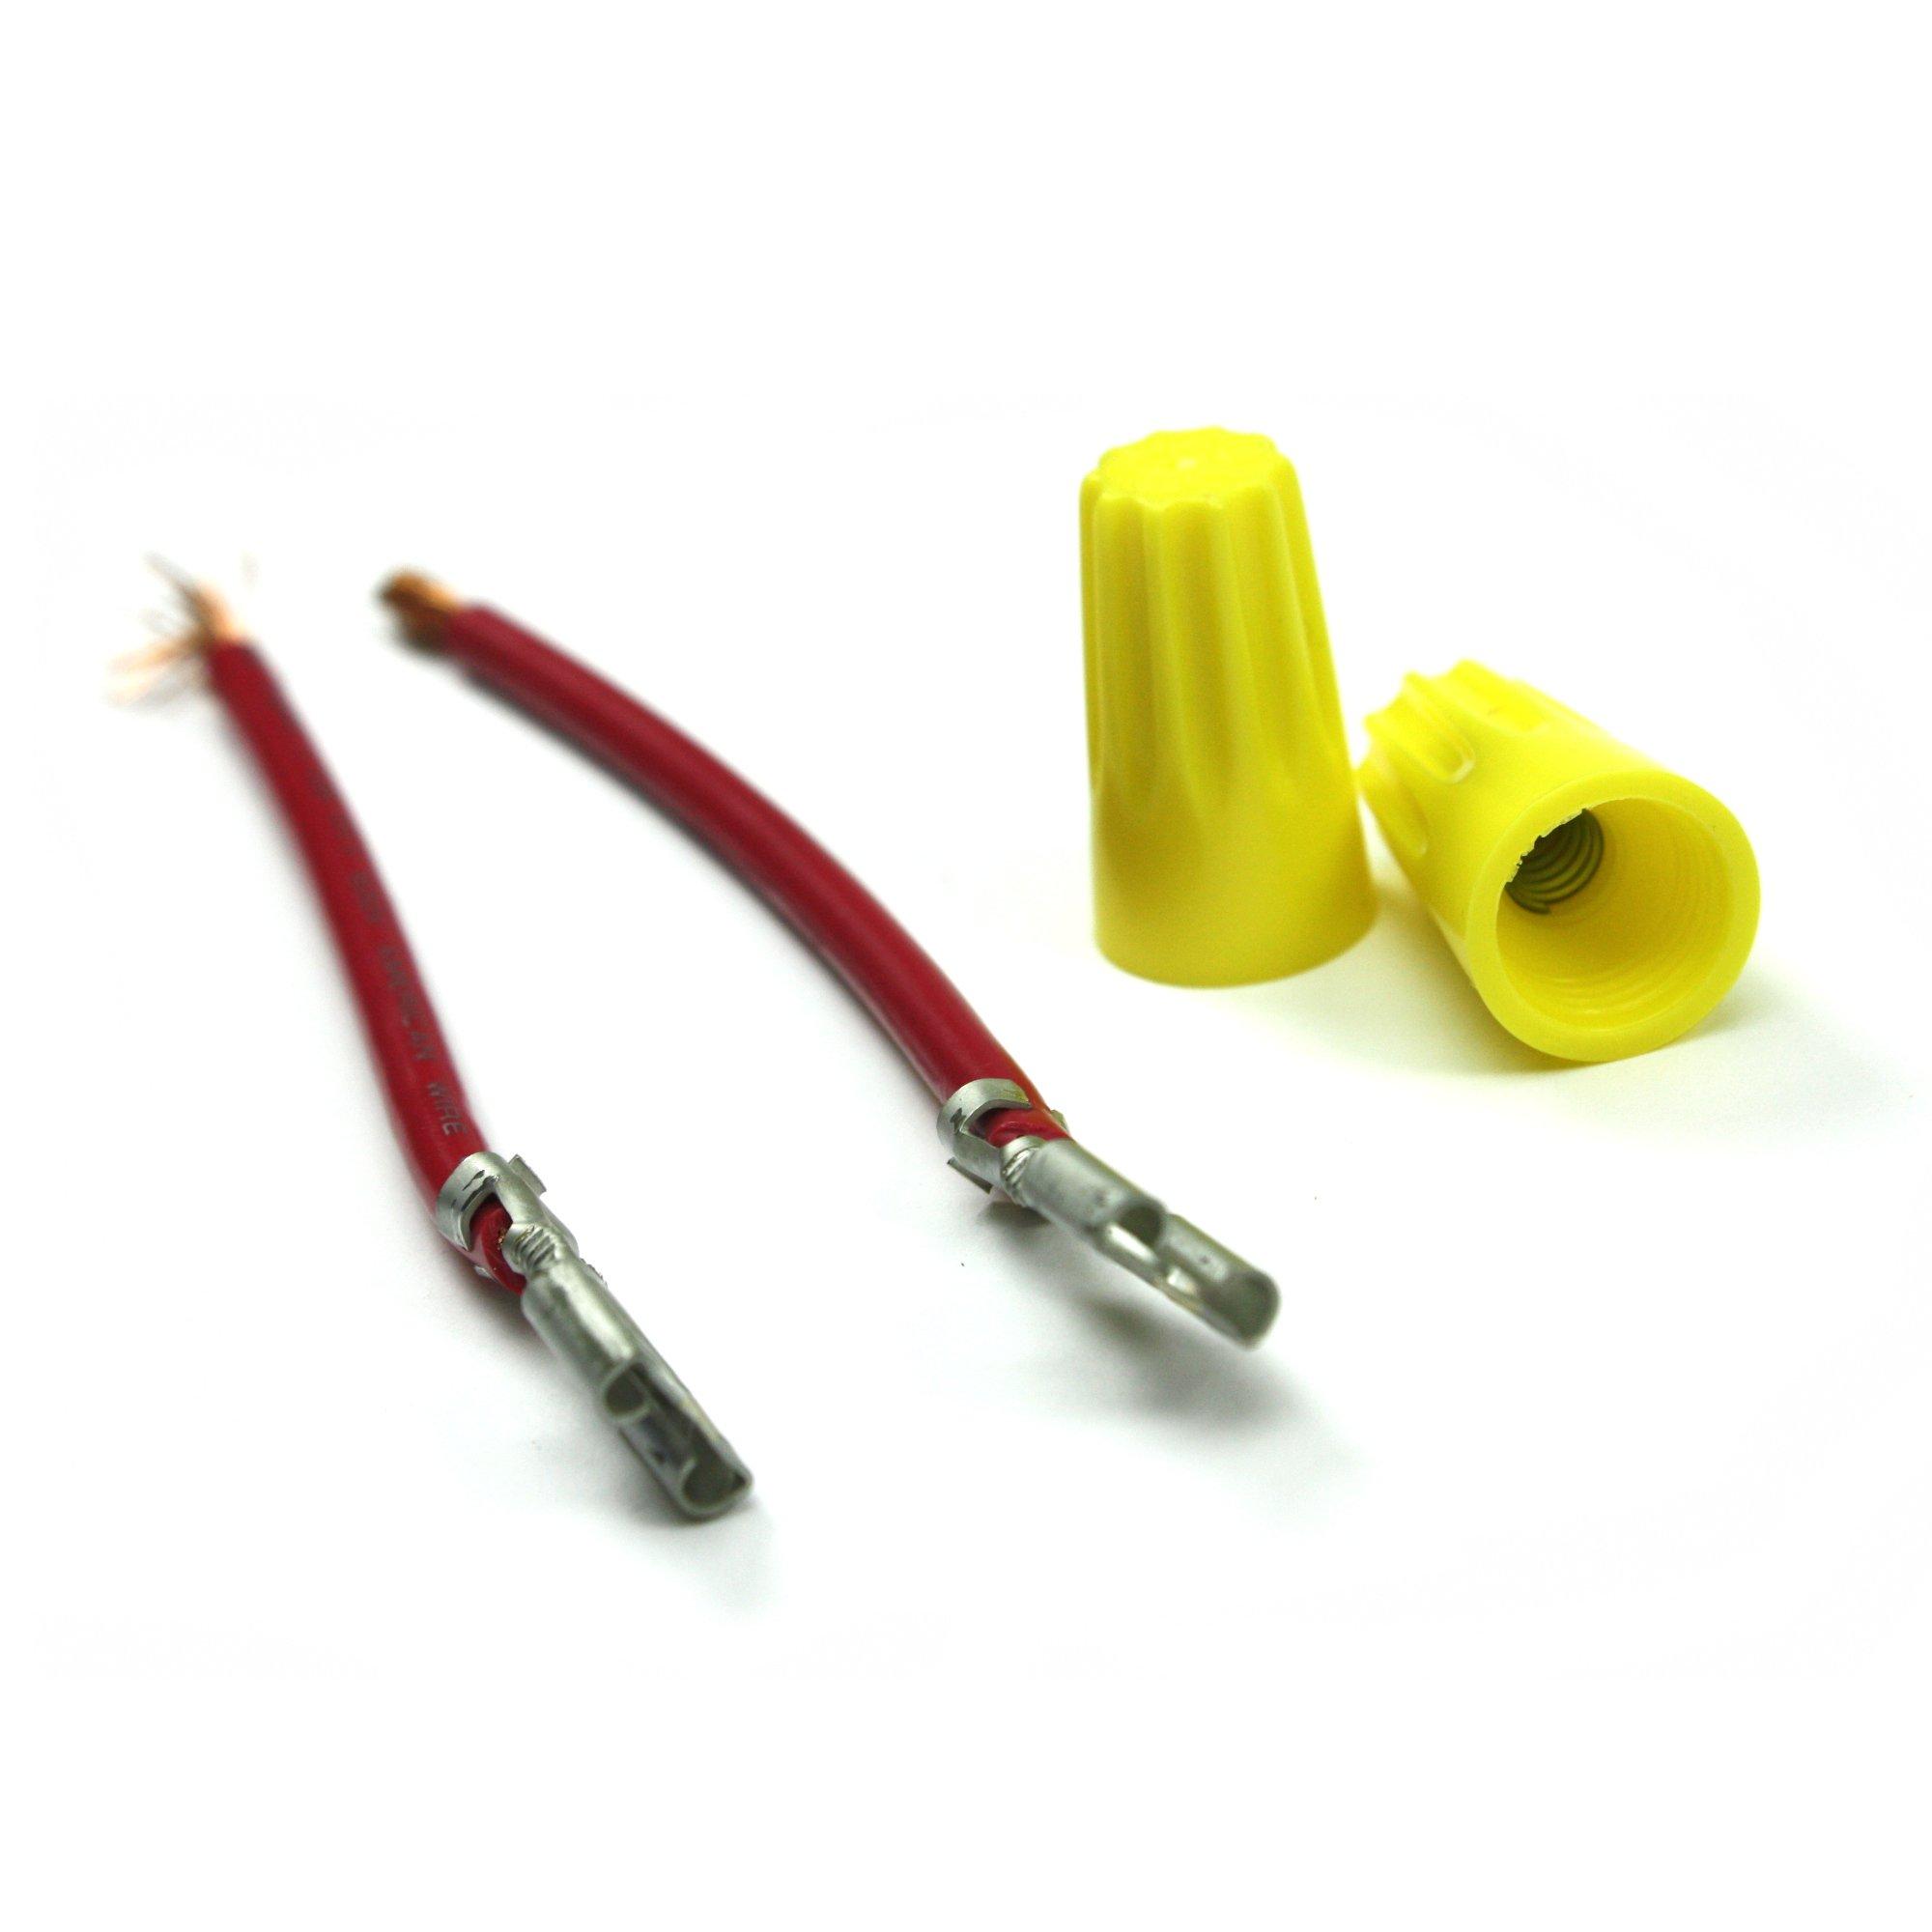
[Thermostats & Wire Repair — 09:28]
The high-limit thermostat is mounted outside the heater casing and includes an inlet thermistor sensor.
- SD8557403 — High-Limit Thermostat with Inlet Thermistor
- SD279973 — Thermostat Kit
- {{SD279457}} — Wire Repair Kit for Heating Element
[Rear Access Panel — 10:52]
Removing the rear panel provides easier access to the rear drum roller shafts, idler pulley, and belt switch.
- {{SDW10547292}} — Idler Pulley
- SDW10411937 — Belt Switch
[Reassembly — 13:26]
Install the new drum drive belt over the drum, routing it around the idler pulley and motor shaft.
- SD8547157 — Drum Drive Belt
[Outro — 14:48]
We are Supplying Demand — The Repair Brand™.
Connecting people with repair through quality, reliability, and care.
About Supplying Demand
Supplying Demand carries over 1,000 appliance, HVAC, and plumbing parts, along with professional tools and cleaning products — designed to help homeowners, technicians, and business owners maintain what matters most.
🔗 Visit SupplyingDemand.com →
🛒 Shop on Amazon →
Before starting any repair:
• Unplug the appliance or switch off the circuit breaker.
• Wear gloves and safety glasses.
• Follow all manufacturer instructions carefully.
• When in doubt, contact a professional technician.
Your safety matters as much as the repair itself.